Hei!
Igatahes, ussikeste mustri kirjutasin ma oma blogisse juba kaua aega tagasi. Peale selle kirjutamist olen aga hakanud oma mustreid hoopis hoolikamalt vormistama, nii et kuigi ussikeste mustris vigu pole, oli seda ebameeldivam lugeda. Seega, siin on uusversioon – ja nüüd ka eesti keeles!
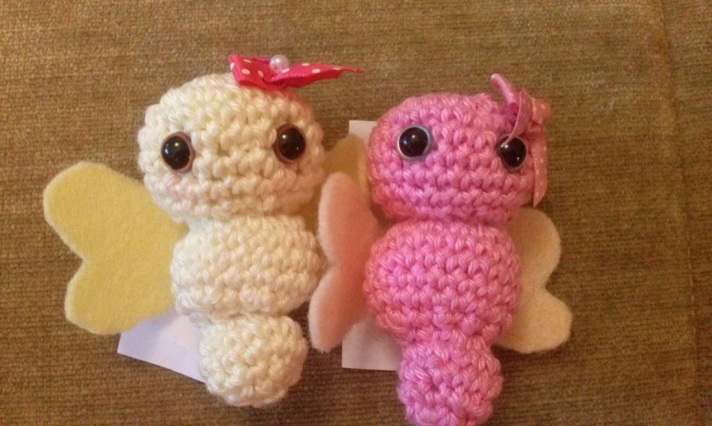
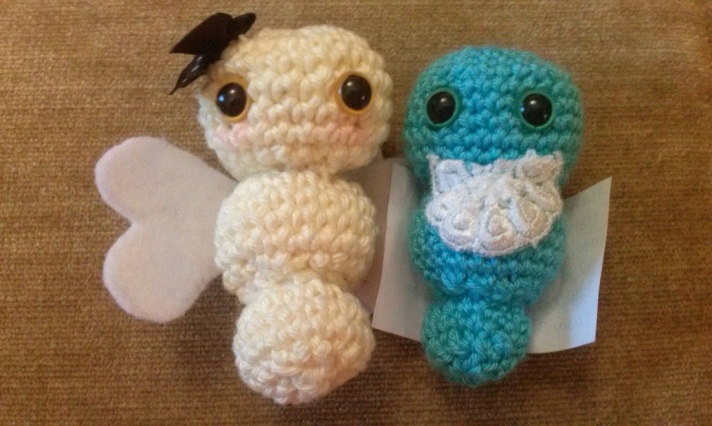
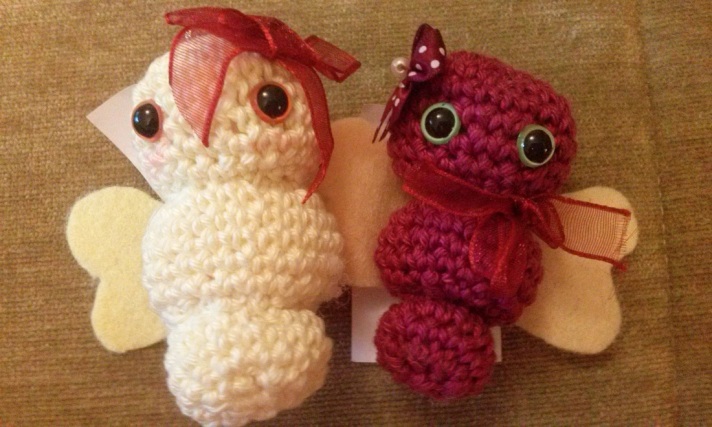
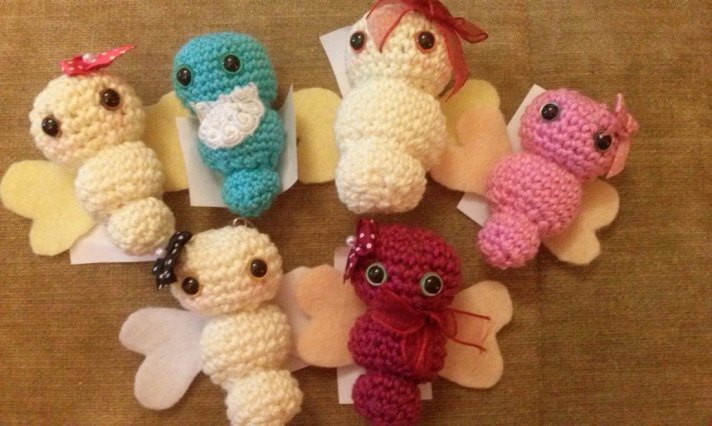
Ussikesed
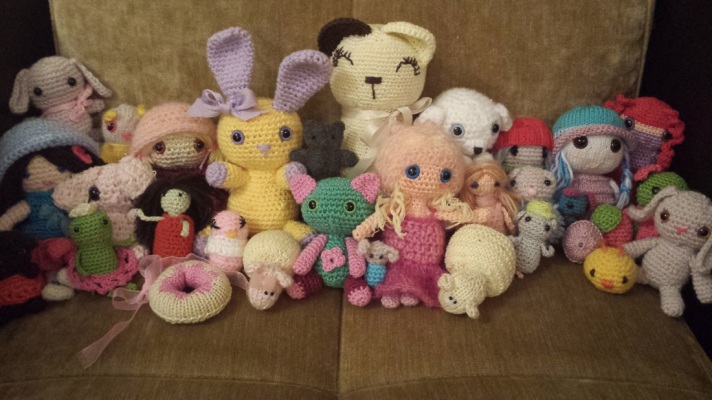
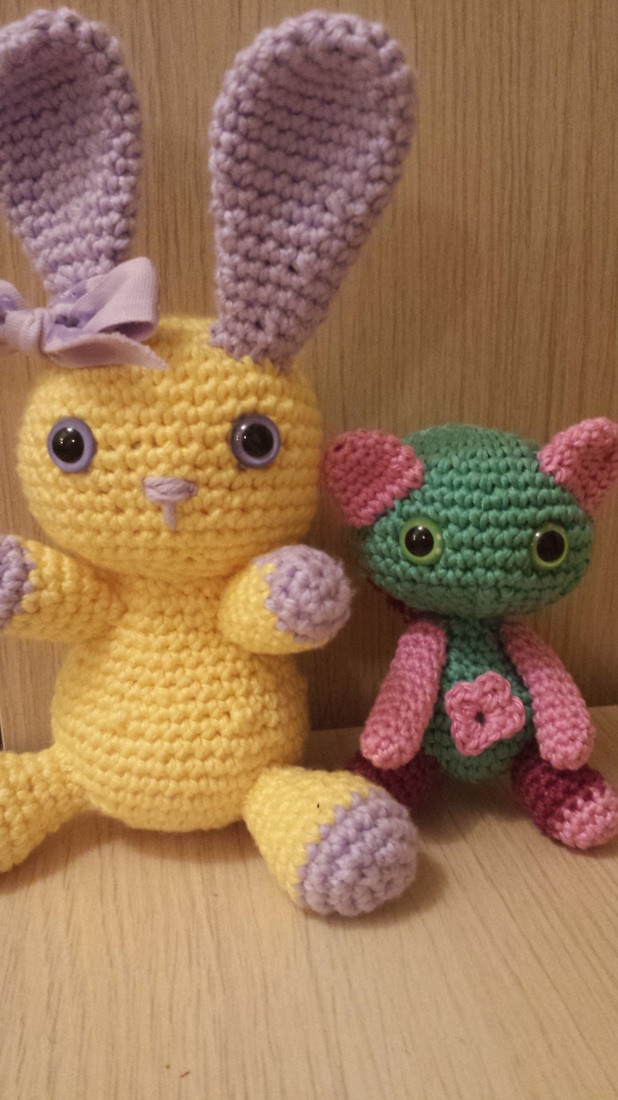
Märkus: Sa ei pea mustrit 100% järgima, vaid võid lisada oma täiendusi. Kõik ussikesed on erinevad – mõned väiksemad, mõned suuremad. Kui soovid, lisa lipsukesi jms.
Materjalid:
Lõng: Igasugune lõng sobib. Mina kasutasin puuvillast lõnga Capri ja2.5mm heegelnõela. Heegelnõel tasub valida lõngavööl soovitatust vähemalt üks number väiksem.
Heegelnõel
Täitematerjal
Nõel
Käädid
Veidi kannatust
Turvasilmad
Tiibade jaoks vilti.
SUURED USSIKESED
Alusta ussikese peast. Heegelda amigurumi tehnikas spiraalselt.
1.ring: Võluring ja 6 ks sinna.
2.ring: 2 ka igasse silmusesse.
3.ring: (1 ks järgmisesse silmusesse, kasv) 6 korda.
4.ring: (1 ks järgmisesse 2 silmusesse, kasv) 6 korda.
5.ring: (1 ks järgmisesse 3 silmusesse, kasv) 6 korda.
6-8.ring: 1 ks igasse silmusesse. Lisa soovi korral turvasilmad.
9.ring: (1 ks järgmisesse 3 silmusesse, kah) 6 korda.
10.ring: (1 ks järgmisesse 2 silmusesse, kah) 6 korda.
11.ring: (1 ks järgmisesse 2 silmusesse, kasv) 6 korda.
12-14.ring: 1 ks igasse silmusesse.
15.ring: (1 ks järgmisesse 2 silmusesse, kah) 6 korda.
16.ring: (1 ks järgmisssse silmusesse, kah) 6 korda.
17.ring: (1 ks järgmisesse silmusesse, kasv) 6 korda.
18.ring: 1 ks igasse silmusesse.
19.ring (1 ks järgmisesse silmusesse, kah) 6 korda.
20.ring: Kah 6 korda.
VÄIKESED USSIKESED
Alusta ussikese peast. Heegelda amigurumi stiilis spiraalselt.
1.ring:Võluring ja 6 ks sinna.
2.ring: 2 ks igasse silmusesse.
3.ring: (1 ks järgmisesse silmusesse, kasv) 6 korda.
4.ring: (1 ks järgmisesse 2 silmusesse, kasv) 6 korda.
5-7.ring: 1 ks igasse silmusesse. Lisa soovi korral turvasilmad.
8.ring: (1 ks järgmisesse 2 silmusesse, kah) 6 korda.
9.ring: (1 ks järgmisesse 2 silmusesse, kasv).
10-12.rida: 1 ks igasse silmusesse.
13.rida: (1 ks järgmistesse 2 silmusesse, kah) 6 korda.
14.rida: (1 ks järgmisesse silmusesse, kah) 6 korda.
15.rida: (1 ks järgmisesse silmusesse, kasv) 6 korda.
16.rida: 1 ka igasse silmusesse.
17.rida: (1 ks, kah) 6 korda.
18.rida: Kah 6 korda.
INGLISE KEELES
IN ENGLISH
Hi!
Anyways, I had written the pattern for these little bugs a long time ago. After publishing this one I’ve learnt much more about patterns and I’ve been writing my patterns in a much more careful manner – and although there are no mistakes in the bugs pattern, it was uncomfortable to read. So, here is the newer version -and now both in English and Estonian. I hope you’ll enjoy making them!
Note: You don’t have to follow the pattern entirely. All of the bugs I’ve made are different – some are smaller, some bigger. You can add bows etc.
Materials: Yarn. You can use any yarn, I used cotton yarn Capri and a 2.5mm hook. Use a hook that’s at least 1 size smaller than suggested on the yarn label.
Crochet hook
Polyester fiberfill
Safety eyes
A bit of patience
Needle
Scissors
Felt for the wings
SMALL BUGS
Start from head.
1.row: Magic ring and 6 sc into it.
2.row: Work 2 sc into every stitch.
3.row [1 sc in the next st, inc] 6 times.
4.row [1 sc in the next 2 sts, inc] 6 times.
5-7.row: Sc evenly around. If you want, add safety eyes.
8.row: [1 sc in the next 2 sts, dec] 6 times.
9. row: [1 sc in the next 2 sts, inc] 6 times.
10-12.row: Sc evenly around.
13. row [1 sc in the next 2 sts, dec] 6 times.
14.row [1 sc in the next st, dec] 6 times.
15.row [1 sc in the next st, inc] 6 times.
16.row: Sc evenly around,
17.row: [1 sc in the next st, dec]
18.row:dec 6 times.
Cut the yarn and draw through the leftover 6 stitches.
BIG BUGS
Start from head. Crochet spirally in amigurumi style.
1.row Magic ring and 6 st into it.
2.row Inc into every stitch (12 st)
3.row: [1 sc in the next st, inc] 6 times.
4.row: [1 sc in the next 2 sts, inc] 6 times.
5. row: [1 sc in the next 3 sts, inc] 6 times.
6-8.row: Sc evenly around.
9. row: [1 sc in the next 3 sts, dec] 6 times.
10.row: [1 sc in the next 2 sts, dec] 6 times.
11.row: [1 sc in the next 2 sts, inc] 6 times.
12-14.row: Sc evenly around.
15. row: [1 sc in the next 2 sts, dec] 6 times.
16.row: [1 sc in the next st, dec] 6 times.
17.row: [1 sc in the next st, inc] 6 times.
18.row: Sc evenly around,
19.row: [1 sc in the next st, dec] 6 times.
20.row: dec 6 times.
Cut the yarn and draw through leftover 6 stitches.